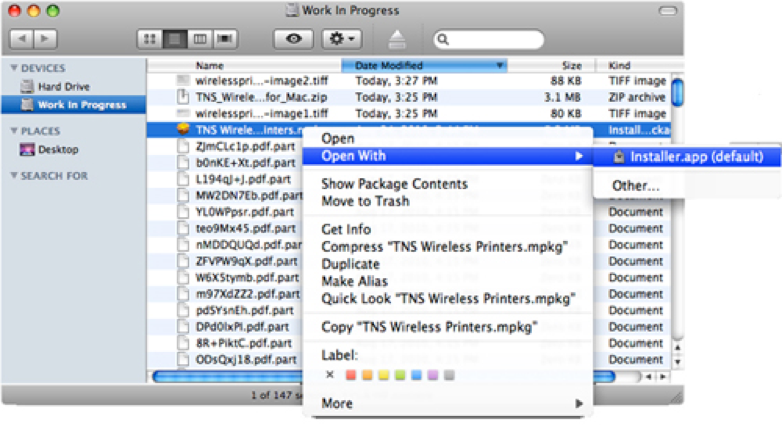
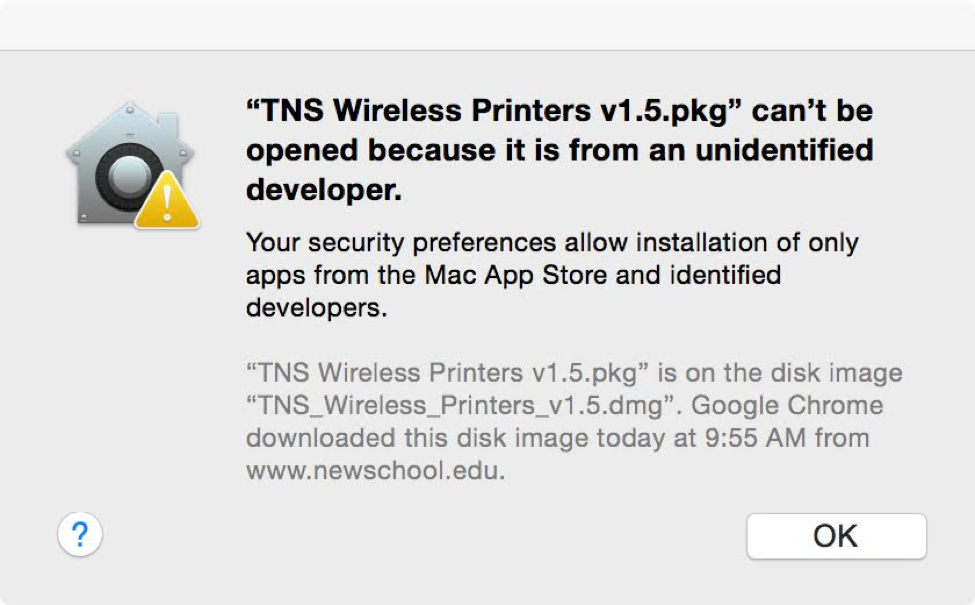
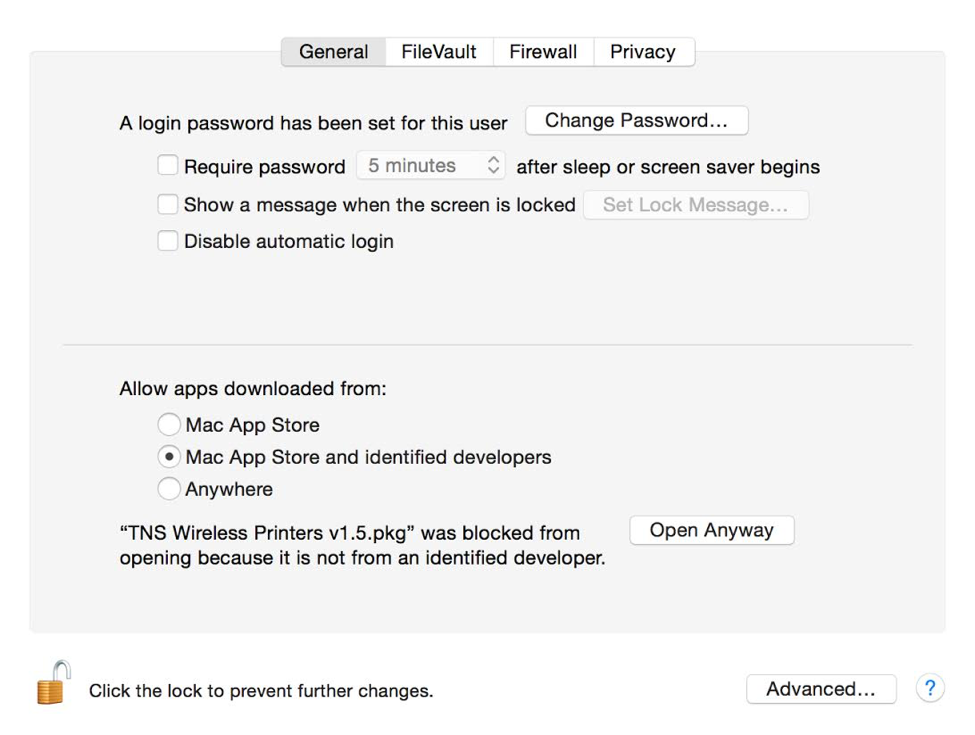
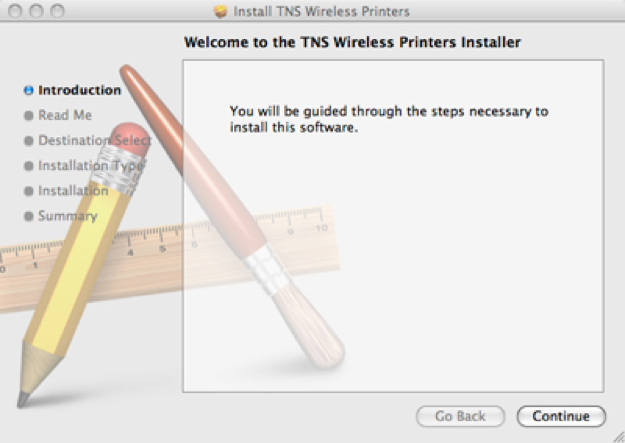
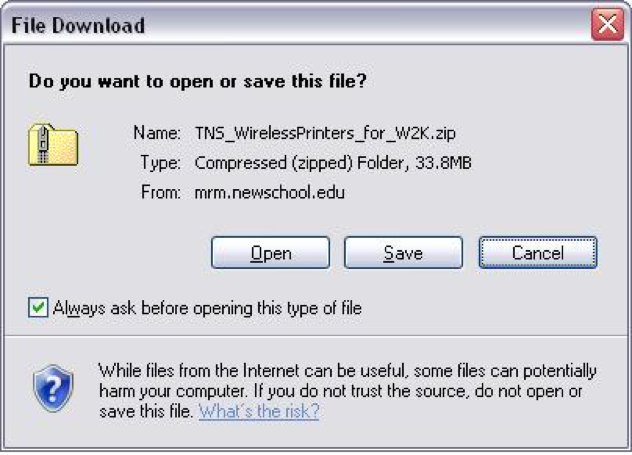
Use the instructions below to guide you through the installation of the printing software on your laptop.

Windows

System Requirements: Windows 10 or higher.
Earlier versions of Windows are not supported and will not be able to print through the wireless network.

1.

Authenticate NetID

To download the printing software you will be prompted to authenticate your username and password. Enter your username and password in the appropriate fields.

Authenticate NetID

2.

Save Zip File

You will be prompted to save the zip file. Save the file to your computer.

Save Zip File

3.

Open the zip file on your computer

To initiate the installation, open the zip file on your computer.

Open Zip File

4.

Click Run to start installation

Start Installation

5.

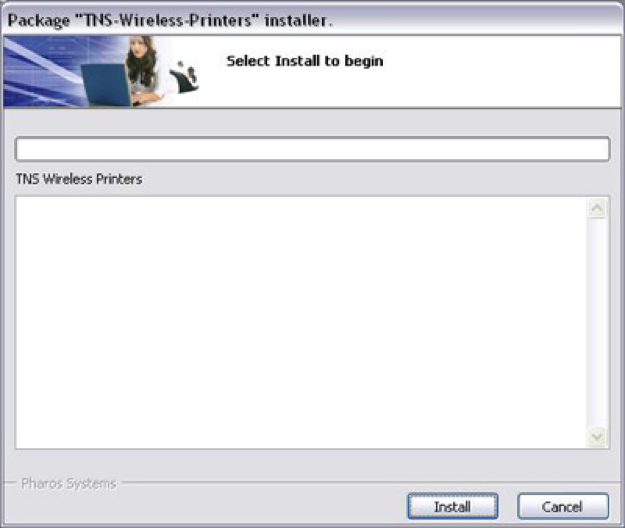
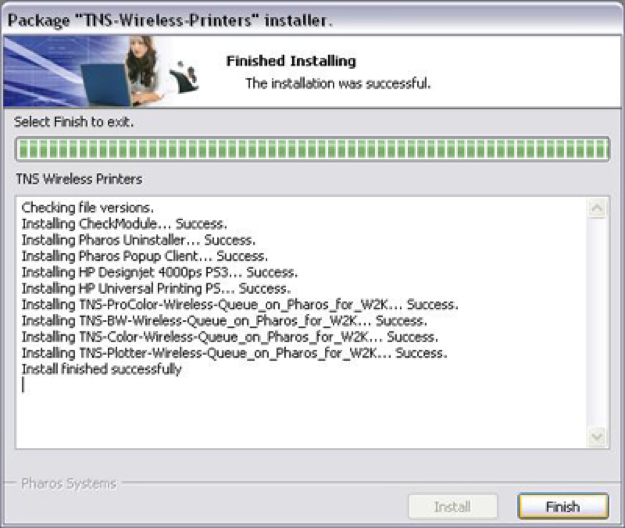
Monitor installation

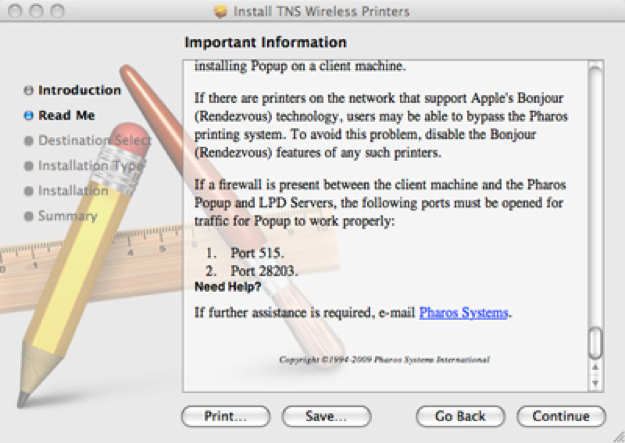
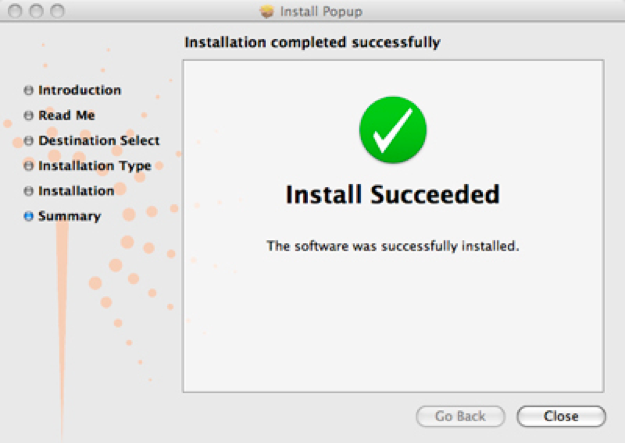
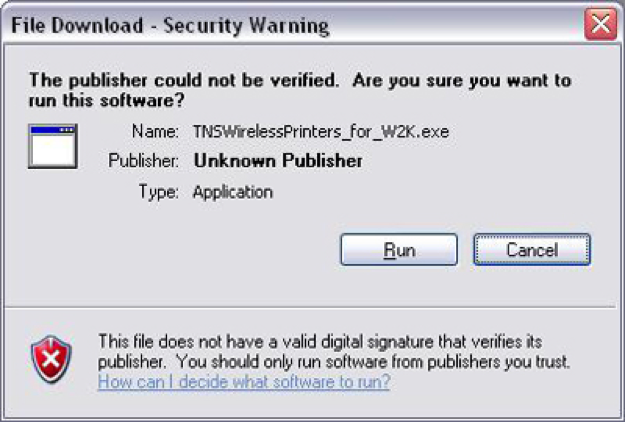
The installation of TNS Wireless Printers will begin.

The TNS Print installation will involve numerous components. Please continue to monitor throughout. If the installation stops at any point prior to completion, simply run the installation again and the process will pick up where it left off.

Monitor Installation

6.

Install Success

When the installer window indicates "Install finished successfully," the installation process is complete. The print queues will be installed and available for print output.

Install Success Window

Mac

System Requirements: macOS Mojave (10.14.6) to macOS Big Sur (11.6.1).
Earlier versions of Mac OS are not supported and will not be able to print through the wireless network.
(Note that macOS Monterey (12.0.1) is not supported at this time)

1.

Authenticate NetID

To download the printing software you will be prompted to authenticate your username and password. Enter your username and password in the appropriate fields.

Authenticate ID Mac

2.

Save Zip File

You will be prompted to save the zip file. Save the file to your computer.

Save Zip File

3.

Open the zip file on your computer

To initiate the installation, open the zip file on your computer.

Open Zip File

4.

If you get the following message you may have to adjust your Security & Privacy settings

Warning Screen file cannot be opened

5.

Please go to your System Preferences and click on Security & Privacy

Security & Privacy Settings

6.

In Security & Privacy, click on "Open Anyway"

Change Security & Privacy Settings

7.

Click Continue

Installation Introduction Screen

8.

Click continue on Read Me installation details screen

Read Me installation details screen

9.

Installation type

Destination Select will be bypassed, only users running multiple operating systems will be required to identify a destination. If you are unsure if you are running multiple operating systems, it is most likely you are not. Click Install to proceed to the next step.

Installation Type Screen

10.

Installation Success

Once you receive notification that your installation was a success, the print queues will be installed and available for print output.

Installation Success Screen