Learn how to install office printers that are availabe to everyone working in an office.

To install office printers on your office desktop computers, follow these instructions:
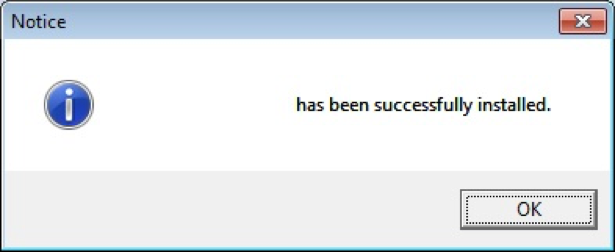
1.

Open a web browser and go to printing.newschool.edu

2.

On the left-most column, look for your address under the selection of folders named by building address. Within each of these folders you will find a set of folders arranged by floor. Open the folders corresponding to your building address and office location.

Find Address and Printer

3.

The list of printers available at your location will be displayed in the window. Select the printer you wish to install. (If your network printer does not appear, contact the IT Central at itcentral@newschool.edu).

4.

When prompted to install the printer, click Yes.

Confirm Printer Installation

5.

Monitor the progress of the printer installation.

Monitor Printer Installation Progress

6.

Once the drivers are installed, you will see a message, "[Your printer] has been successfully installed." Click OK.

Printer Successfully Installed

7.

Your network printer is now installed.

Additional Note: Some printers may have custom settings such as additional trays or finishing features such as stapling. If your printer has those features, but they do not appear in the printer properties, contact the IT Central at itcentral@newschool.edu for assistance.